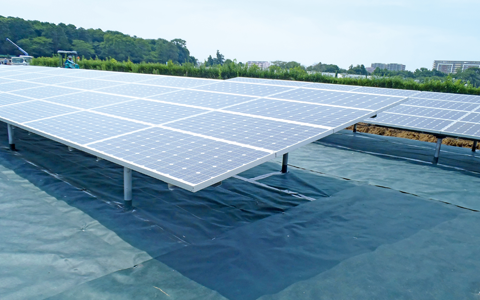
Weed Control Fabric Installation Method
Weed Control Sheet Installation Method
Before starting to work
|
STEP 1 |
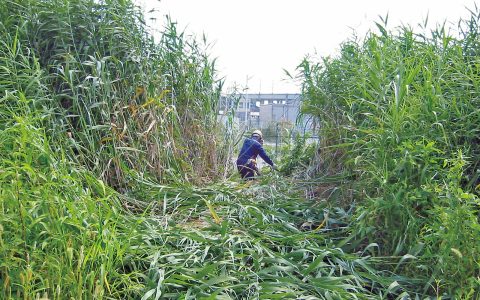
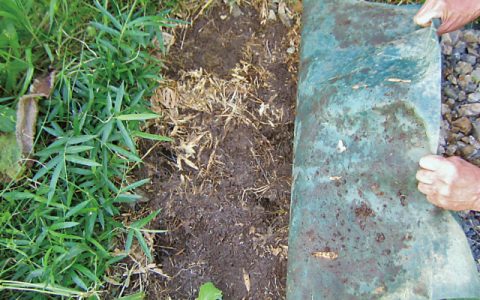
Remove weeds When weeds are present, remove as many as possible and level the ground to create a smooth surface. Notice The types of weeds differ depending on the location of installation. Please select the weed control fabric by checking the actual location of the installation.
|
|---|---|
|
STEP 2 |
Preparation for the installation of the weed control fabric
|
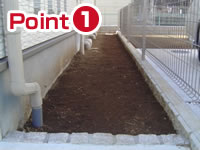
Installation procedure
|
STEP 1 |
Preparation for installation When weeds are present, remove as many as possible and level the ground. |
|---|---|
|
STEP 2 |
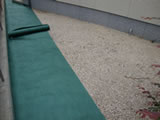
Installation of fabric Recommended height of the lifted section of fabric at the edge of curbstones and blocks is 5 cm or more.
|
|
STEP 3 |
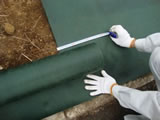
Sheet overlap margin Overlap the fabric for more than 10 cm.
|
|
STEP 4 |
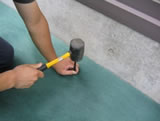
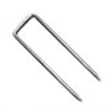
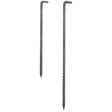
Pinning When applying the fabric beneath gravel, temporary pinning of the fabric with plastic pins is recommended. When applying fabric without a covering, use U-shaped pins or L-shaped pins depending on the hardness of the soil. When used with Weed Control Washer® and Weed Control Patch®, the growth of weeds around the pinholes and flattening of the fabric can be reduced, and the fabric can be set more securely.
Notice Please use caution when using long pins because pipes are installed around gardens. |
|
STEP 5 |
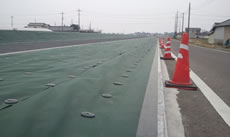
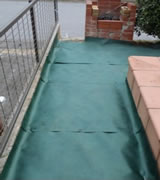
Completion of fabric installation Sheet installation is completed when the fabric is laid without any gaps.
|
|
STEP 6 |
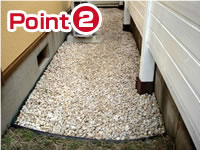
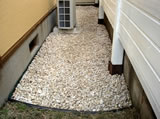
Covering with gravel The installation is complete when the fabric is uniformly covered with gravel with a thickness of about 5 cm.
Notice Precautions The gravel layer shall be 10 cm or thicker in areas with traffic from vehicles such as in parking lots. |


Installation method when trees are available
|
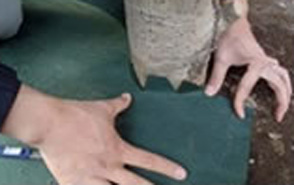
STEP 1 |
Lift the fabric for the length to be laid beyond the tree trunk as shown in the photograph. The fabric length tends to be too short. Please lift the fabric longer than seems required.
|
|---|---|
|
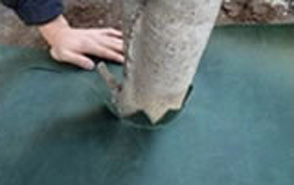
STEP 2 |
Cut the fabric using a cutter from the top to the bottom sections targeting the center of the tree trunk.
|
|
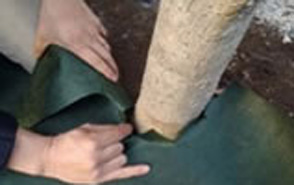
STEP 3 |
Spread the cut sections and press the fabric more snugly around the tree.
|
|
STEP 4 |
While the fabric is being applied to the corner, create another vertical cut at about 50 mm from the first cut on both sides. Repeat this procedure.
|
|
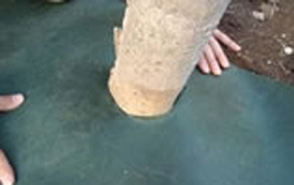
STEP 5 |
Fold the cut triangle sections inward to hide them. The installation is complete when the fabric is tightly adhered to the trunk (or a structure). The entire process is complete when the fabric is secured with pins.
|
Installation method when pipes are installed
|
STEP 1 |
Create cuts in the fabric and apply without creating gaps.
|
|---|

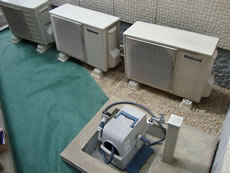
Installation method when there are obstacles, such as outdoor air conditioning units and septic tank blowers.
|
STEP 1 |
Apply the fabric beneath the obstacles whenever possible. Weeds can be controlled more effectively when cuts in the fabric are not exposed if possible because it will prevent weeds from growing from the cuts.
|
|---|
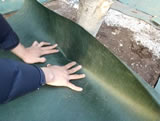
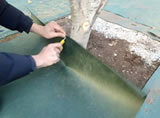
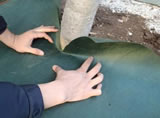
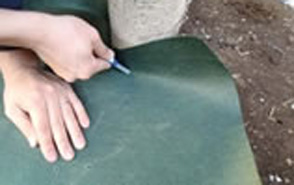
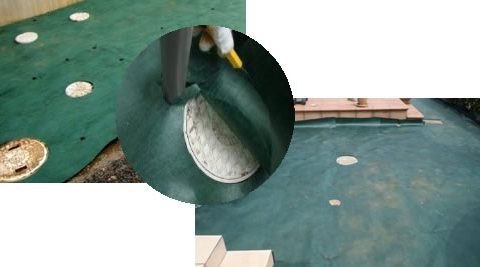
Installation method around a catch basin or other obstacle
|
STEP 1 |
Place a fabric over the catch basin. Place a cutter blade at the edge of the catch basin and cut out cleanly. Please use caution because when cuts are too large, it will increase the possibility of weed growth through the gap.
|
|---|
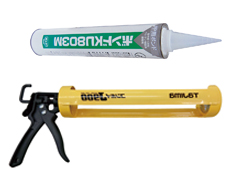
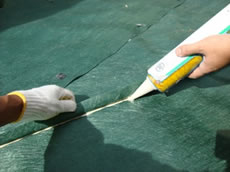
Method to adhere different weed control fabric and fabric on cornerstones using glue
|
STEP 1 |
Provide weed control fabric glue and special glue guns. The nozzle at the tip of the glue can be cut.
|
|---|---|
|
STEP 2 |
After laying the weed control fabric, insert the nozzle between the fabric and surface to be adhered to and apply the glue. After injecting glue, press the fabric from the top to create firm adhesion. (Press firmly until the pressed glue slightly oozes out through the fabric.)
|
Tape application method
|
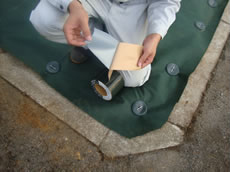
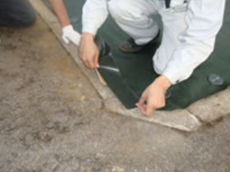
STEP 1 |
Clean concrete surface using wire brush or other tools before placing a tape. After cleaning, paste the tape at the edge of a fabric symmetrically at both sides for 5 cm.
|
|---|---|
|
STEP 2 |
The installation is complete when the pasted tape is pressed from the top to create firm adhesion.
Notice *When pasting tape in the corners, create many cuts and apply them by overlapping the cuts for about 5 cm. *When the edge of a weed control fabric is lifted due to twisting or wrinkling, cut the edges of the fabric to remove the lifting before adhering the fabric. If the lifting is not removed, the tape will become prone to removal as the fabric is lifted and by exposure to resistance.*When the surface to be adhered is wet, apply glue after the surface is completely dry. |